Many households want to cut down on single-use plastic waste from bathroom cleaning products but are unsure how to safely and effectively refill their own cleaning bottles at home. Store-bought cleaners often come pre-diluted and in non-refillable packaging, making it difficult to know how to properly concentrate, dilute, and transfer cleaning solutions without sacrificing effectiveness or transparency about ingredients. This guide offers practical, step-by-step advice to help you refill your bathroom cleaners using concentrated solutions, bulk refills, or DIY mixes—saving money and reducing plastic waste without confusion or risk.
Why Refill Your Own Bathroom Cleaning Solutions?

Bathroom cleaners typically come in disposable plastic spray bottles which contribute significantly to household plastic waste. However, simply transferring store-bought cleaners into empty bottles isn’t always straightforward because:
- Most bathroom cleaners are sold ready-to-use, not concentrated.
- Concentration ratios (active ingredient vs. water) impact cost-effectiveness and cleaning power.
- Ingredient transparency may be unclear in third-party refill options.
- Refillable claims sometimes don’t translate to actual waste reduction if packaging is not truly reusable.
By refilling your own solutions thoughtfully, you can:
- Reduce single-use plastic consumption by reusing bottles.
- Save money by buying concentrated refills in bulk.
- Control ingredients and avoid unnecessary chemicals.
- Customize dilution ratios for different cleaning tasks.
See also: How to Refill Household Cleaners Without Sacrificing Effectiveness
How to Refill Your Own Bathroom Cleaning Solutions at Home: Step-by-Step
Phone cases · 15% off first order
Phone Case GiftThey pick the model · 2 minutes Code FIRST15GIFT
Step 1: Choose a Suitable Concentrated Cleaner or Refill Solution
Look for a concentrated bathroom cleaner specifically formulated to be diluted before use. This could be:
- Concentrated commercial refills sold at zero-waste shops.
- Bulk purchase of concentrated, fragrance- and dye-free bathroom cleaner.
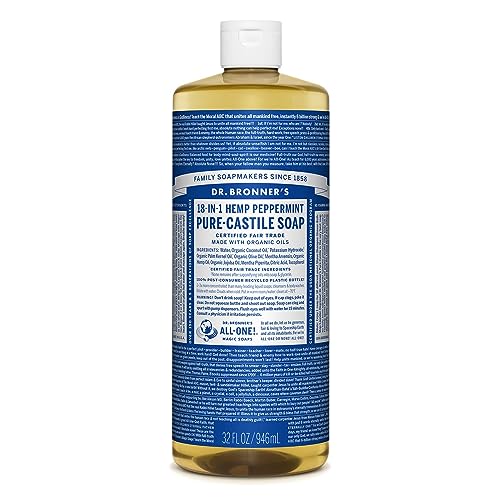
- Homemade recipes with common ingredients (e.g., vinegar, baking soda, castile soap).
When selecting a concentrate, pay attention to ingredient transparency and confirm it contains active ingredients appropriate for bathroom surfaces (anti-microbial agents, surfactants, descalers).
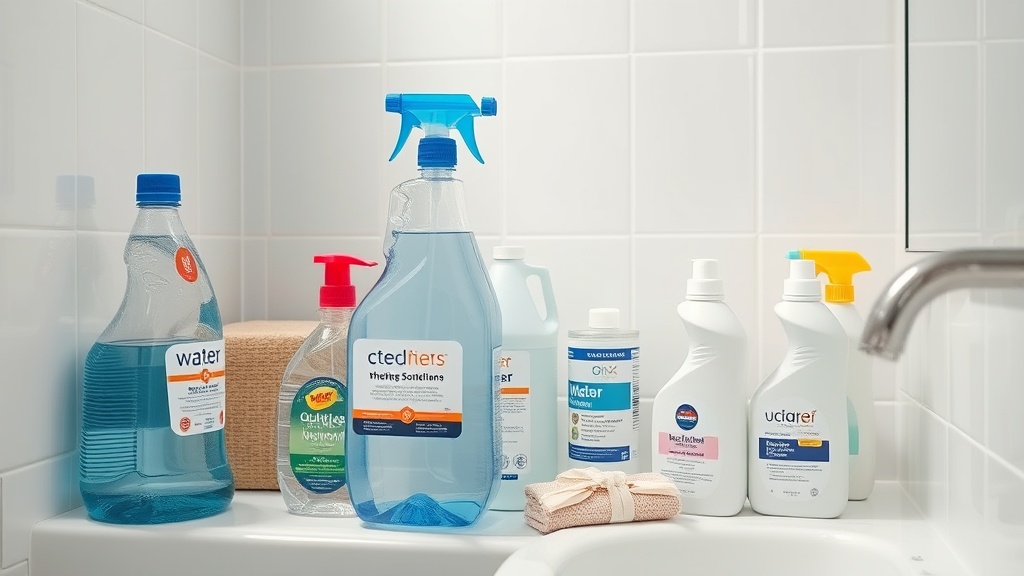
Step 2: Select Reusable Bottles Designed for Refilling
Plastic spray bottles designed for refilling are typically thicker and more durable than single-use bottles. Some have:
- Clear measurement markers for easy dilution.
- Resistant nozzles that can be cleaned and reused.
- Compatible cartridges or inserts to reduce refills even further.
Avoid thin, disposable bottles as they degrade quickly and may release microplastics.
Step 3: Calculate Dilution Ratios and Cost Savings
Check the concentration ratio, often expressed as a proportion like 1:10 (1 part concentrate to 10 parts water). This will help you mix the correct strength and calculate savings.
For example:
| Product Type | Concentration Ratio | Cost per Use (Est.) | Plastic Waste Saved | Notes |
|---|---|---|---|---|
| Ready-to-use (bottle) | N/A | $0.75 | One bottle per use | Convenient, more plastic |
| Concentrated refill (1:10) | 1:10 | $0.25 | Reuse one bottle many times | Requires precise mixing |
| DIY mix (vinegar/soda) | Variable | <$0.10 | Reuse bottle | Limited antimicrobial action |
Step 4: Prepare a Clean Workspace
Before you start refilling:
- Clean and rinse the spray bottle thoroughly to remove any residue.
- Dry completely to prevent dilution of fresh solution.
- Use a funnel to minimize spills and waste.
- Keep labels or markers for dilution instructions on the bottle.
Step 5: Mix the Solution
- Measure the concentrate based on the recommended ratio.
- Add the appropriate volume of water (preferably filtered or distilled to avoid mineral buildup).
- Gently swirl or invert the bottle to mix; avoid shaking vigorously to minimize aerosolizing chemicals.
Step 6: Label Your Bottles Clearly
Label is critical for safety and correct usage, particularly when multiple cleaners are used in the home.
Include:
- Product name (e.g., “Bathroom Cleaner – 1:10 Dilution”)
- Ingredients if homemade or from concentrate
- Date mixed and expected shelf life
- Instructions/cautions
Step 7: Store Safely and Use Correctly
Keep refilled bottles in a cool, dry place away from children and pets. Use the cleaner according to manufacturer or recipe instructions for best results.
Ingredient Transparency: What You Need to Know
Not all concentrates provide clear ingredient information. Choose options that list full active ingredients rather than vague terms like “fragrance” or “proprietary blend.” This assists with:
- Avoiding allergens or irritants.
- Confirming the presence of effective cleaning agents such as surfactants, acids, or antimicrobials.
- Ensuring your DIY cleaner’s components match your needs (e.g., natural vs chemical).
Which ‘Refillable’ Claims Actually Save Plastic?

Some brands market ‘refillable’ bottles that are refill-only with their proprietary cartridges or use multi-use pouches. To judge if these are truly waste-saving, consider:
- Is the refill packaging recyclable or biodegradable?
- How many refills does the bottle last before replacement?
- Are compatible third-party refills available, at lower cost?
- Does the system use less plastic overall compared to buying new bottles?
Single-use cartridges and heavily packaged refills can sometimes undermine the environmental benefit.
Comparison Table: Types of Bathroom Cleaner Refills
| Feature | Concentrated Liquid Refill | Compatible Cartridges | DIY Mixes |
|---|---|---|---|
| Plastic Waste Reduction | High (reuses bottles many times) | Medium (some cartridge waste) | Very High (reuses bottles, uses household materials) |
| Ingredient Transparency | High to medium (varies by brand) | Usually medium (less info) | High (fully controlled by user) |
| Cost per Use | Low to medium | Medium | Very low |
| Ease of Use | Requires dilution and measuring | Plug-and-play, easy | Time and knowledge needed |
| Cleaning Effectiveness | High - optimized formulations | Good, but limited options | Variable, depends on recipe |
| Shelf Life | Usually long when concentrated | Depends on cartridge design | Short-medium, depending on ingredients |
| Environmental Safety | Generally better than disposables | Varies (cartridge plastic, chemical usage) | Generally safe if natural ingredients used |
| Best Use Scenario | Households wanting cost and waste savings without DIY hassles | Users wanting convenience | Users comfortable making own cleaners |
Final Tips for Waste-Free Bathroom Cleaning

- Always keep one labeled spray bottle strictly for bathroom use; do not mix cleaners.
- Explore local refill stations or bulk stores for concentrated cleaner options.
- Regularly clean spray nozzles to prevent clogs and extend bottle life.
- Consider water hardness when making DIY refills; softened water improves cleaning effectiveness.
- Replace bottles only when visibly worn or brittle to maximize plastic savings.
Top Picks


Frequently Asked Questions
Q: Can I use any bottle to refill bathroom cleaner?
A: It’s best to use durable, reusable spray bottles specifically designed for refilling to avoid chemical breakdown, leaks, or clogging. Avoid single-use or thin plastic bottles.
Q: How do I know if my concentrate is properly diluted?
A: Follow the concentration ratio provided by the manufacturer or recipe. Using measuring cups or syringes ensures accuracy, preventing over- or under-dilution which affects cleaning power and cost.
Q: Are homemade cleaners as effective as commercial refills?
A: Homemade cleaners can be effective for routine cleaning but may lack strong antimicrobial properties found in some commercial concentrates. Using trusted recipes and targeted ingredients (e.g., vinegar, hydrogen peroxide) increases effectiveness.