How to Make Zero-Waste Cleaning Products from Kitchen Ingredients

If you’re trying to cut down on single-use plastic and reduce household waste, buying new cleaning products every time they run out can feel frustrating and expensive. Many conventional cleaners come in bulky plastic bottles, with ingredients you can’t easily verify, and costs that add up. Fortunately, you can make effective, zero-waste cleaning products using simple kitchen ingredients you likely already have on hand. This approach saves money, cuts plastic waste from packaging, and offers full ingredient transparency so you know what’s cleaning your home.
In this guide, I’ll walk you through the practical steps to create your own zero-waste cleaning products, explain why these DIY alternatives work, and help you navigate common pitfalls to avoid.
See also: Why Refillable Cleaning Products Reduce Household Plastic Waste
Step 1: Gather Essential Kitchen Ingredients
Phone cases · 15% off first order
Phone Case GiftThey pick the model · 2 minutes Code FIRST15GIFT
Most zero-waste cleaning recipes revolve around a few versatile, multi-purpose ingredients. Before starting, make sure you have these staples on hand:
- White vinegar: A natural acidic cleaner that cuts through grease, glass, and residues.
- Baking soda (sodium bicarbonate): Mildly abrasive and deodorizing.
- Liquid castile soap: A biodegradable soap base created from vegetable oils.
- Lemon juice: Adds acid, natural fragrance, and mild bleaching properties.
- Essential oils (optional): For scent and extra antibacterial qualities.
- Water: Preferably distilled or filtered for prolonged shelf life.
With these ingredients, you can mix various cleaners tailored for specific household tasks—from floors and countertops to glass and bathrooms.
Step 2: Understand What Each Ingredient Does
Knowing why each ingredient works helps you mix better and substitute as needed:
- White vinegar: Acidic (pH ~2.5), effective at dissolving mineral deposits, cutting grease, and breaking down soap scum. Avoid on stone surfaces (marble, granite) because the acid may etch them.
- Baking soda: Slightly alkaline, acts as a gentle abrasive to scrub grime without scratching most surfaces; also neutralizes odors.
- Castile soap: Provides surfactants to lift dirt and grease, but is mild and biodegradable.
- Lemon juice: Acidic and slightly antibacterial; brightens surfaces and leaves a fresh scent.
- Essential oils: Such as tea tree or lavender, can add antimicrobial properties and pleasant aromas but are optional.
Step 3: Mix Recipes for Key Cleaning Tasks

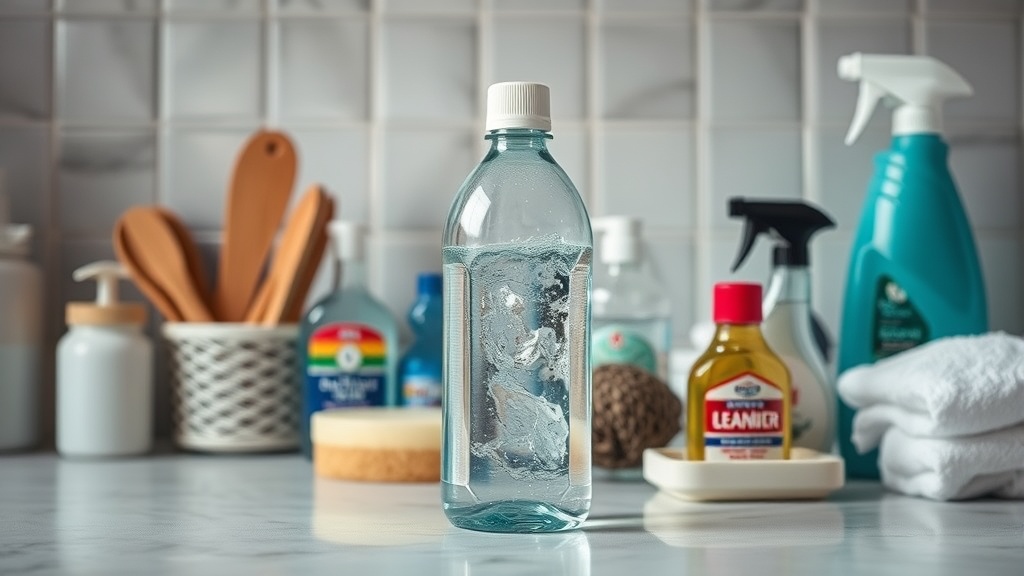
Here are four basic cleaning products you can make easily with common kitchen ingredients. Mix batches in reusable glass bottles or jars for zero-waste storage. Concentrations matter—more concentrated means less waste and less to store.
| Cleaning Task | Key Ingredients | Concentration Tips | Use & Notes |
|---|---|---|---|
| All-Purpose Cleaner | Water, white vinegar, castile soap | 1:1 water to vinegar, 1 tsp soap per cup | Use on countertops, sinks, and tiles. Avoid stone surfaces. |
| Glass Cleaner | Water, white vinegar, lemon juice | 2 parts water, 1 part vinegar, 1 tbsp lemon juice | Spray on mirrors, windows for streak-free shine. |
| Scrubbing Paste | Baking soda, castile soap, water | Equal parts baking soda and soap, add water to paste | Use for tubs, tubs, and kitchen sinks. |
| Deodorizing Spray | Water, baking soda, essential oils (optional) | 1 liter water, 1 tbsp baking soda, 10 drops oils | Spray fabric, carpets; shake before use. |
Step 4: Store and Refill with Zero Waste in Mind
- Use durable containers: Glass spray bottles, stainless steel tins, or silicone squeeze bottles keep refills plastic-free.
- Avoid single-use tools: Use old rags or microfiber cloths instead of disposable wipes.
- Label containers: Keep track of what’s inside and date batches to ensure freshness.
- Batch only what you use: Small batches prevent waste due to spoilage or separation.
- Refill and reuse: Once a container is empty, refill it from your DIY mix to avoid buying new plastic bottles.
Step 5: Address Ingredient Transparency and Safety
Phone cases · 15% off first order
Phone Cases For CharityEvery case supports a cause Code GIVE10
One advantage of homemade cleaners is knowing exactly what’s going in. There’s no unlabeled “fragrance” or mysterious preservatives—just kitchen staples.
- Allergen precautions: Check if household members have allergies to citrus, essential oils, or soaps used.
- Test surfaces: Always spot-test a new cleaner to avoid damage.
- Safe storage: Keep cleaning products away from food storage and children.
Step 6: Evaluate What Zero-Waste Refill Claims Really Mean
Some commercial “refillable” cleaning products advertise reduced plastic use, but their impact varies:
| Refill Type | Plastic Waste Reduction | Ingredient Transparency | Cost Efficiency | When Zero-Waste? |
|---|---|---|---|---|
| Brand-name cartridges | Moderate to high | Sometimes limited | Often more expensive | If cartridge recycled, but still plastic |
| Third-party refills | High | Varies widely | Usually cheaper than brand | Depends on packaging materials |
| Concentrated refills | Very high | Usually transparent | Cost-effective due to concentration | Most zero-waste—diluted at home |
| DIY Zero-Waste Mixes | Complete | 100% transparent | Cheapest | Best for zero waste and full control |
Concentrated refills and DIY mixes minimize packaging volume and material, giving the biggest waste reduction. Buying pre-diluted refill bottles without fully eliminating plastic often leaves unnecessary waste.
Step 7: Common Pitfalls and How to Avoid Them
- Using vinegar on natural stone: Vinegar’s acidity can etch surfaces, so use a castile-soap-based cleaner instead.
- Overusing essential oils: They can be allergens or irritants; add sparingly.
- Dilution mistakes: Too much water reduces cleaning power; too little causes streaking or residue.
- Baking soda interactions: Avoid mixing baking soda with acidic cleaners directly—it neutralizes them.
- Shelf life neglect: Homemade cleaners don’t have preservatives; make small batches every few weeks.
Summary Table: DIY Zero-Waste Cleaners from Kitchen Ingredients
| Cleaner Type | Main Ingredients | Best Use Cases | Surface Safety | Suggested Container Type | Approximate Cost per Use |
|---|---|---|---|---|---|
| All-Purpose Spray | Vinegar, water, castile soap | Counters, sinks, sealed tiles | Avoid stone | Glass spray bottle | <$0.10 per 16 oz spray |
| Glass Cleaner | Vinegar, water, lemon juice | Windows, mirrors | Safe | Glass spray bottle | <$0.15 per 16 oz spray |
| Scrubbing Paste | Baking soda, castile soap, water | Bathtubs, grout, tough stains | Safe on most except sensitive | Glass jar | <$0.05 per application |
| Deodorizing Spray | Water, baking soda, essential oils | Carpets, fabric deodorizing | Generally safe | Refillable plastic or glass spray | <$0.10 per 16 oz spray |
Top Picks


Frequently Asked Questions
Q: Can homemade cleaners replace all store-bought products?
A: For most everyday tasks, yes. However, specialty products like heavy-duty disinfectants or specialty floor finishes may still be needed.
Q: How long do DIY cleaning solutions last?
A: Without preservatives, they usually remain effective for 1–3 weeks stored in a cool, dark place. Castile-soap mixtures may last longer.
Q: Is white vinegar safe for all floors?
A: No. Vinegar should be avoided on natural stone, hardwood with unfinished surfaces, and waxed floors. Use soap-based cleaners instead.
Making your own zero-waste cleaning products from kitchen ingredients is a practical and cost-effective way to reduce plastic waste and chemical exposure at home. With a few simple tools and recipes, you can shift away from single-use plastic bottles and unclear ingredient lists, empowering your household to live cleaner and greener.