Many households want to reduce single-use plastic and avoid harsh chemicals in their hand soaps, but store-bought refills can be expensive or filled with questionable ingredients. Making your own refillable hand soap at home offers control over ingredients, reduces plastic waste, and often costs less per use. Here’s a straightforward guide to creating effective, gentle, and eco-friendly refillable hand soap that’s easy on your skin and the planet.
Why Make Your Own Refillable Hand Soap?
Commercial hand soaps generally come in single-use plastic bottles, contributing to plastic waste. Even refills often use new plastic packaging or cartridges. Some “natural” or refillable soaps still contain harsh chemicals such as sulfates, parabens, or synthetic fragrances, which can irritate sensitive skin or pollute freshwater. By making your own, you control every ingredient, cut down on packaging, and often reduce costs significantly.
See also: How to Refill Your Own Bathroom Cleaning Solutions at Home
What Makes a Good DIY Refillable Hand Soap?
Phone cases · 15% off first order
Phone Case GiftThey pick the model · 2 minutes Code FIRST15GIFT
Before diving in, it’s helpful to understand the core components of a gentle, refillable hand soap:
-
Surfactants: These cleansing agents lower surface tension and lift dirt/oils. For DIY, choose mild, plant-derived surfactants (like decyl glucoside or coco-glucoside) over harsh sulfates.
-
Water: The base of your soap, usually filtered or distilled to avoid impurities.
-
Moisturizers: Glycerin or aloe vera can help prevent dryness and maintain skin hydration.
-
Preservatives: Since homemade soaps contain water, without preservatives, bacteria or mold may grow quickly. Use gentle natural preservatives (like potassium sorbate or certain essential oils) or refrigerate small batches.
-
Fragrances (optional): Pure essential oils provide aroma without synthetic chemicals; avoid allergens and irritating oils.
How to Make Your Own Refillable Hand Soap: Step-by-Step
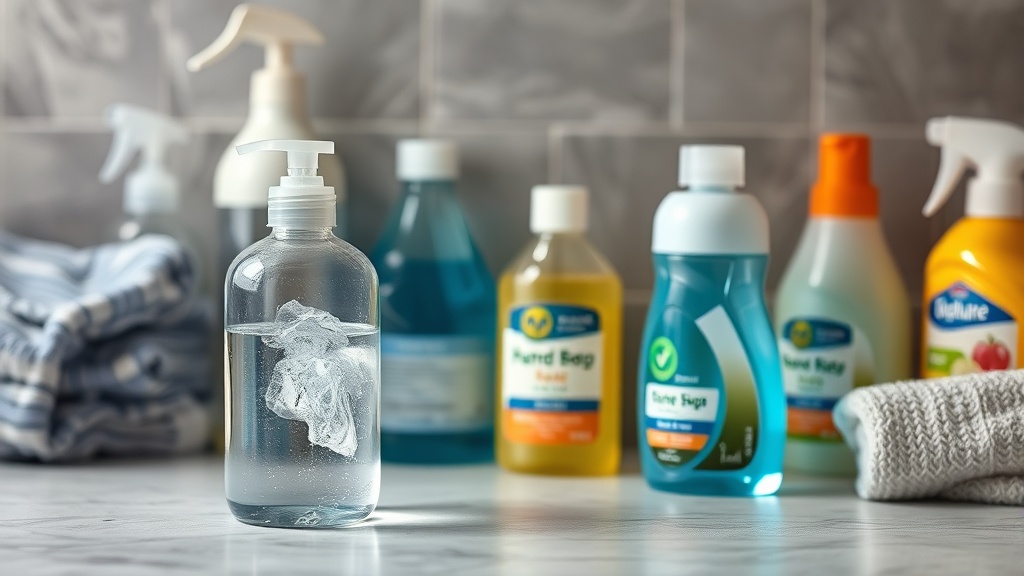
Step 1: Gather Ingredients and Supplies
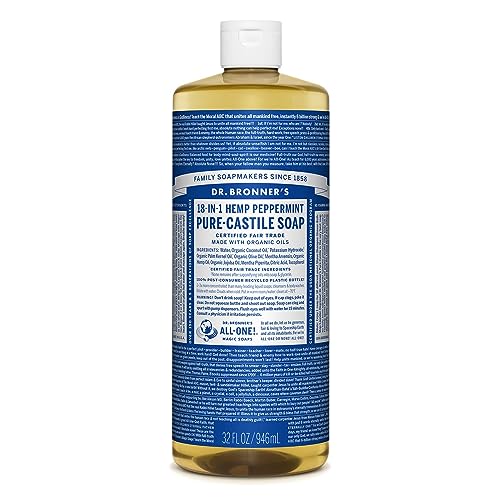
- Mild liquid surfactant (e.g., decyl glucoside or castile soap base)
- Distilled or filtered water
- Vegetable glycerin (for moisturizing)
- Essential oils (optional)
- Natural preservative (optional but recommended)
- Measuring cups/spoons
- Clean mixing bowl and spoon
- Refillable pump bottle (preferably glass or recyclable plastic)
- Funnel (to avoid spills when refilling bottles)
Step 2: Mix the Soap Base
Start with the surfactant as your base. For a typical household liquid soap volume (about 1 cup/240ml):
- ½ cup (120 ml) mild liquid surfactant
- ½ cup (120 ml) distilled water
Slowly add the water to the surfactant while gently stirring to keep foam minimal. The concentration ratio here is roughly 1:1 surfactant to water, enough for effective cleansing without being harsh or too watery.
Step 3: Add Moisturizers and Enhancers
Add about:
- 1 tablespoon (15 ml) vegetable glycerin for skin hydration
- Optional: 1 teaspoon (5 ml) aloe vera gel for soothing properties
Stir gently to combine.
Step 4: Add Preservatives and Fragrance (Optional)
- If using, add natural preservative according to manufacturer instructions (often around 0.5-1%).
- Add 10-20 drops of essential oils, such as lavender, tea tree, or citrus, for scent and mild antimicrobial properties. Beware of skin sensitivity — do a patch test first.
Step 5: Transfer to Refillable Bottle
Using a funnel, carefully pour the mixture into your clean refillable pump bottle. Label the bottle with ingredients and date for reference.
Step 6: Storage and Use
Store the soap in a cool, dark place to extend shelf life. Use within 2-3 weeks if unpreserved, or up to 3 months with preservatives. Shake gently before each use if ingredients separate.
Understanding Concentration Ratios and Cost Savings
Phone cases · 15% off first order
Titan CasePrecision fit · 2,000+ designs Code FIRST15TIT
One of the biggest advantages of DIY hand soap is budget control. Here’s why concentration and refill volume matter:
| Feature | Store-Bought Soap | DIY Refillable Soap |
|---|---|---|
| Surfactant concentration | Typically 10-15% or more | Customizable, often 5-10% |
| Cost per ounce | Higher due to branding & packaging | Lower, bulk ingredient purchases |
| Packaging waste | Single-use or plastic refill pack | Reused bottle, minimal new packaging |
| Ingredient transparency | Varies, often proprietary/formulated | Full control over ingredients |
| Preservative use | Synthetic or none | Natural options or none with refrigeration |
| Fragrance source | Synthetic or natural | Essential oils only |
Because you control the concentration, you can adjust cleaning power and cost. Commercial soaps may include expensive thickening agents or premium scents; DIY saves on these while maintaining adequate performance.
When to Use DIY Refillable Hand Soap

- For everyday household handwashing to gently cleanse without dryness
- In kitchens or bathrooms to reduce chemical exposure and plastic use
- When you want allergen control or to avoid specific irritants in commercial soaps
- Households with sensitive skin, children, or seniors benefiting from mild ingredients
Common Pitfalls to Avoid

- Over-concentrating surfactants: Strong detergents cause dryness and skin irritation. Stick to mild, low percentages.
- No preservative or poor hygiene on containers: Homemade soap can grow bacteria fast. Use preservatives or make small batches frequently.
- Using essential oils without testing: Some oils can irritate skin or cause allergies. Patch test and avoid oils toxic to pets or children.
- Reusing old single-use bottles: Use dedicated refillable bottles that can be cleaned thoroughly to avoid contamination.
- Inconsistent measurements: Accurate ratios prevent soap that is either too weak or harsh. Use measuring tools.
Summary Table: DIY vs. Commercial Refillable Hand Soap
| Aspect | DIY Refillable Soap | Commercial Refill Soap | Single-Use Soap Bottles |
|---|---|---|---|
| Environmental Impact | Low – reduces plastic waste | Medium – new plastic but less than single-use | High – frequent plastic waste |
| Cost Efficiency | High – cheaper per use | Medium – moderately priced | Low – most expensive overhead |
| Ingredient Control | Full control | Limited transparency | Limited, may contain harsh chemicals |
| Cleaning Effectiveness | Adjustable concentration | Fixed formula, often strong | Strong formula, may be harsh |
| Shelf Life | Shorter if no preservative | Longer due to preservatives | Long shelf life with preservatives |
| Fragrance Options | Fully customizable essential oils | Variable, often synthetic | Synthetic or natural options |
Top Picks

Frequently Asked Questions
Q: Can I use regular dish soap or shampoo to make hand soap refills?
A: It’s not ideal. Dish soaps are often too harsh and drying for skin, while shampoos may lack sufficient surfactants for handwashing. Look for mild, skin-safe surfactants or castile soap bases instead.
Q: Is a preservative absolutely necessary for homemade liquid soap?
A: If you plan to store soap for more than a week at room temperature, yes. Otherwise, bacteria and mold can develop. Refrigeration and small batch sizes can help avoid preservatives.
Q: Will homemade hand soap clean as well as commercial products?
A: Yes, if formulated correctly with enough mild surfactant and water. Strong detergents in commercial soaps are not always necessary for effective hand hygiene, especially if washing technique and time are sufficient.
Making your own refillable hand soap without harsh chemicals is a practical, eco-conscious step toward reducing plastic waste and exposure to irritants. With simple ingredients and proper care, you can enjoy healthier hands, a smaller environmental footprint, and significant cost savings.